PS给美女添加超酷的喷溅水珠
时间:2012-04-01 14:59来源: 作者: 点击:
次
很多震撼的效果,我们可以想得出,不过拍摄的时候很难实现。这时候就需要用PS这款强大的软件来处理后期。如下面的教程,作者先根据需要拍摄出合理角度的人物图片,然后再用水珠素材或笔刷等渲染水珠效果。细节处理好的话,效果是非常逼真的。
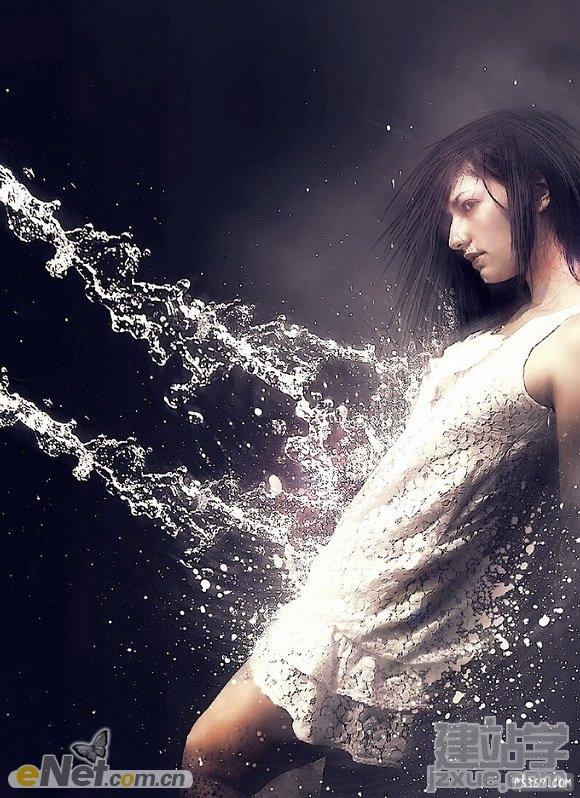
最终效果
1、创建一个新
|
很多震撼的效果,我们可以想得出,不过拍摄的时候很难实现。这时候就需要用PS这款强大的软件来处理后期。如下面的教程,作者先根据需要拍摄出合理角度的人物图片,然后再用水珠素材或笔刷等渲染水珠效果。细节处理好的话,效果是非常逼真的。
最终效果
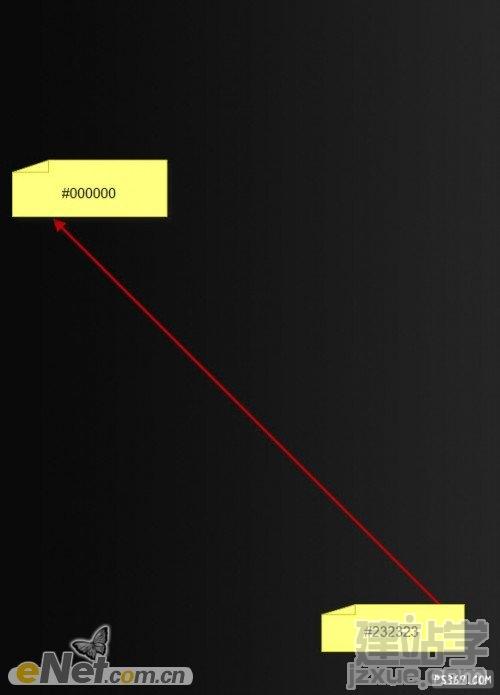
1、创建一个新的文件,大小800*1100像素的黑色背景,使用渐变工具,如图设置渐变颜色,拉出渐变。
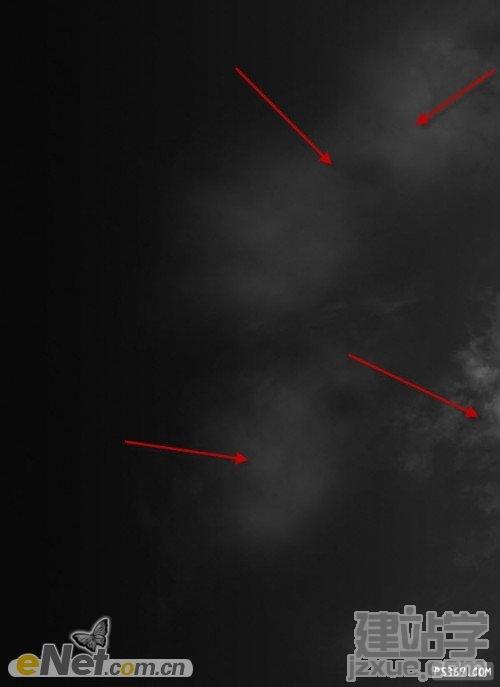
2、利用云笔刷或云彩滤镜,制作一些云彩气息。
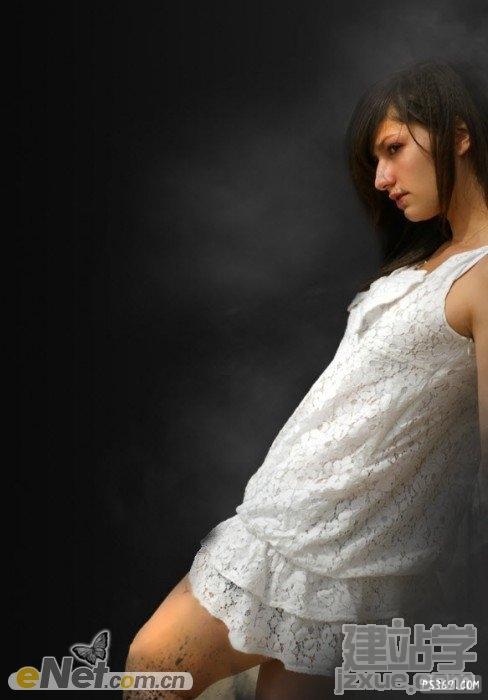
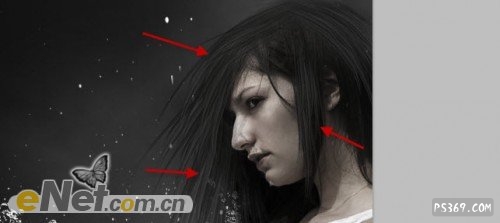
3、抠选一个女孩形象,并粘贴到画布。
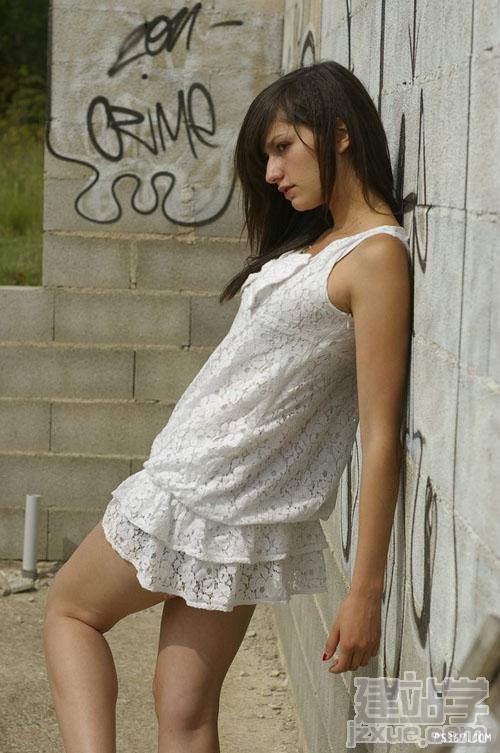

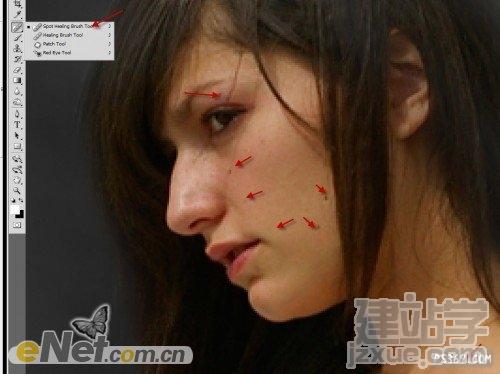
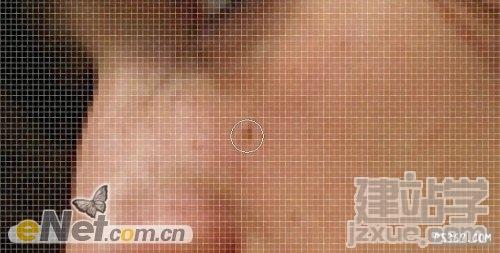
4、用“污点修复工具”来吧女孩脸上的黑斑去掉。
5、新建一个层,删除画布右下角的女孩部分,并使用飞溅笔刷在人物的腿上及脸部制作飞溅效果。
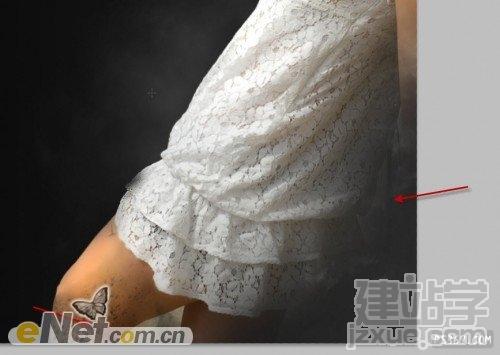
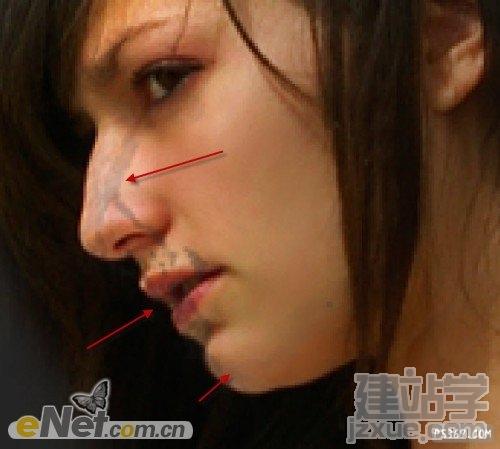
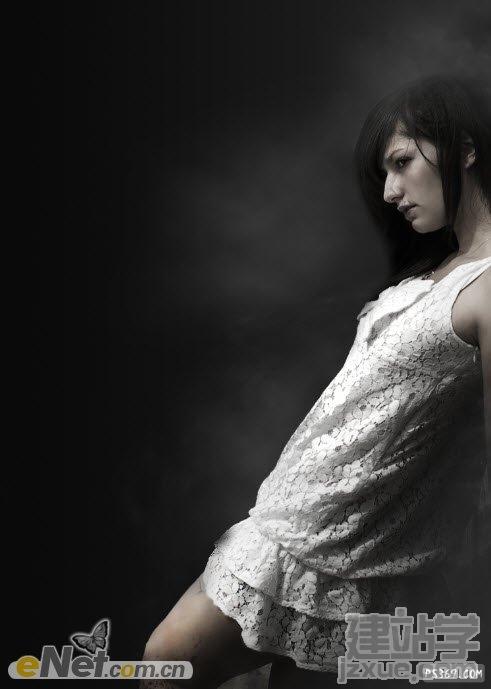
6、制作完这几步,得到下面这个效果。
7、下面为了整体效果,还要对全局的颜色做出修改,同时使用水笔刷来制作人体飞溅水珠的效果。
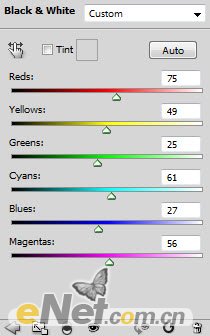
选择“图层>调整>黑白,设置混合模式为“颜色“不透明度为90%左右。
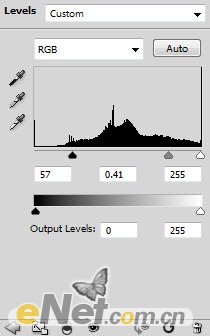
8、调出色阶,设置不透明度为70%。
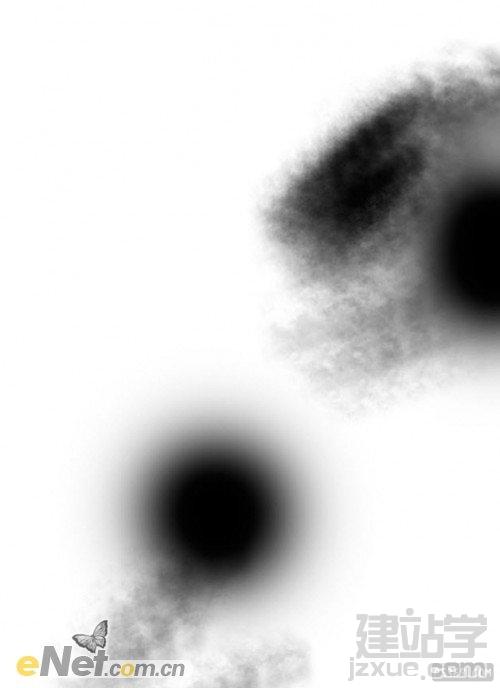
9、在图层蒙版中使用云笔刷绘制如下。
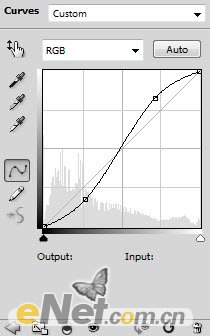
10、调出曲线,设置不透明度为70%。
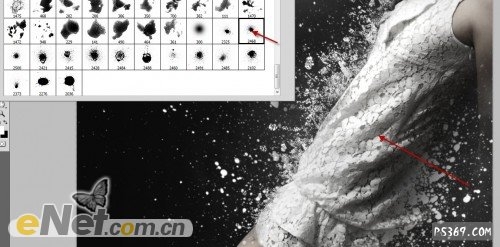
11、创建一个新的层,使用水溅笔刷,画出飞溅的水珠,如图所示。笔刷下载地址:
http://smashinghub.com/a-collection-of-water-splash-brushes-for-photoshop.htm
12、在用飞溅刷添加更多的效果,使其看起来更加真实。
13、到目前为止的效果。

14、这时候在看女孩的头发没有层次,那么我们就绘制出层次来。
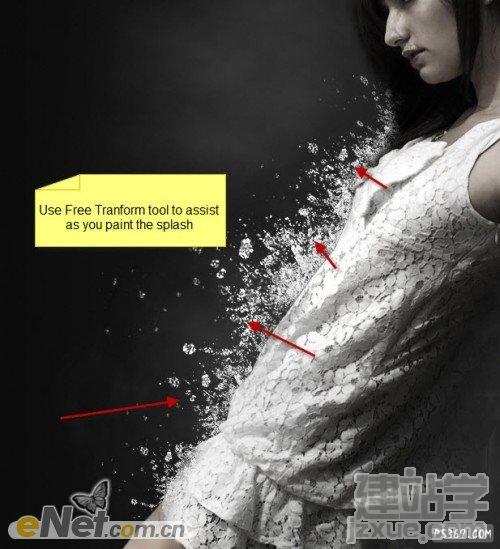
15、创建一个新的层,从水溅笔刷包里选择笔刷,绘制大水流飞溅效果。这里要使用到变形工具来调整笔刷的大小和形态。笔刷下载地址:
http://smashinghub.com/a-collection-of-water-splash-brushes-for-photoshop.htm

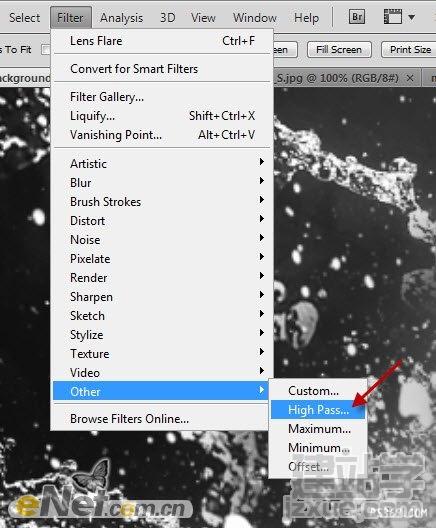
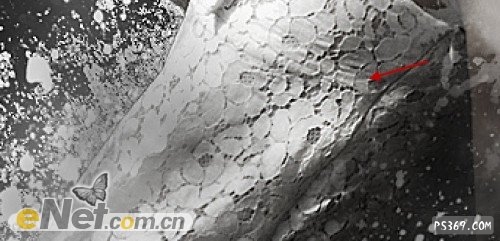
16、到这里我们就快完成了,最后我们对图像做最后的润色。为了使图像更加突出清晰,下面使用“滤镜>其它>高发差保留”。
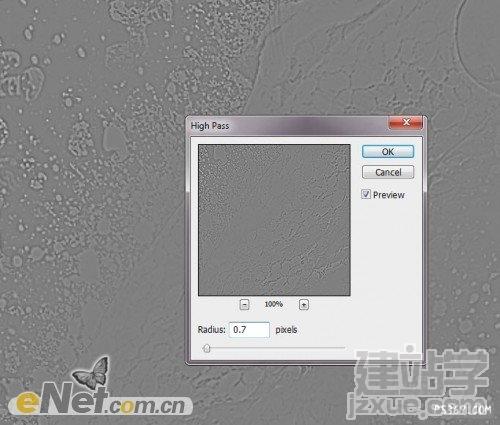
17、根据下图参数设置“高反差保留”。
18、调出“混合模式”设置为“强光。
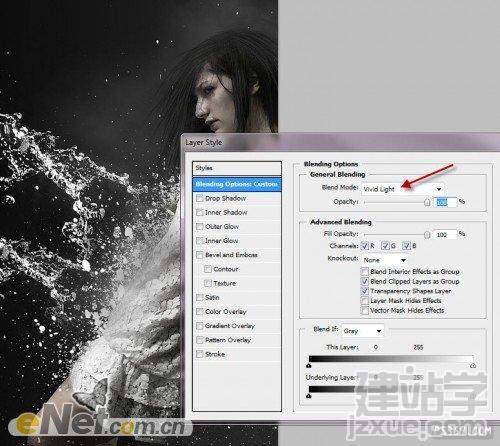
19、这时候可以看出,通过我们的制作,细节上更加清晰,衣服的纹路及其飞溅的水珠的立体感都有很大的提升。
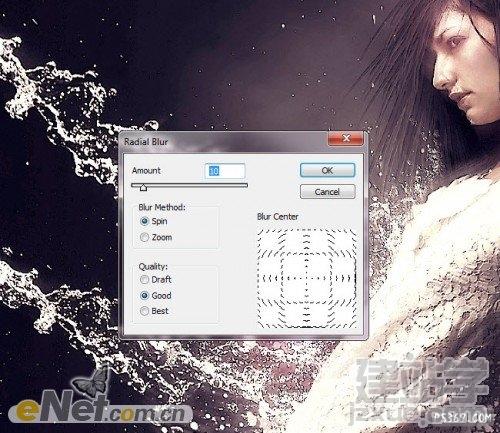
20、回到背景层,复制背景,选择“滤镜>模糊>径向模糊”设置数量为10。
21、用软角橡皮擦涂抹人物部分,设置图层的不透明度为40%。
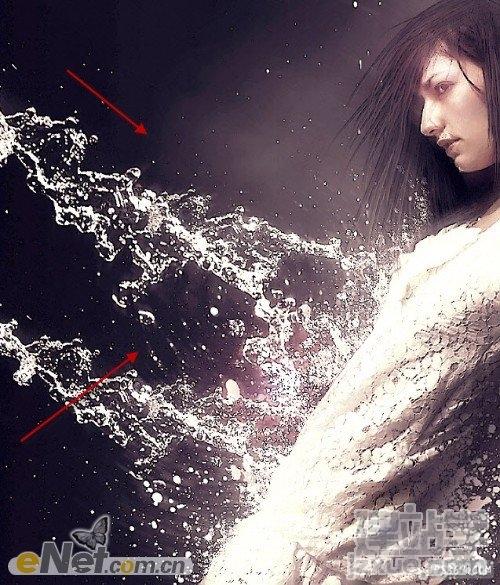
22、这样我们就使图具有更加清晰的运动效果。下面在使用“加深工具”来体现细节,设置笔尖大小为120PX,曝光度为5%。
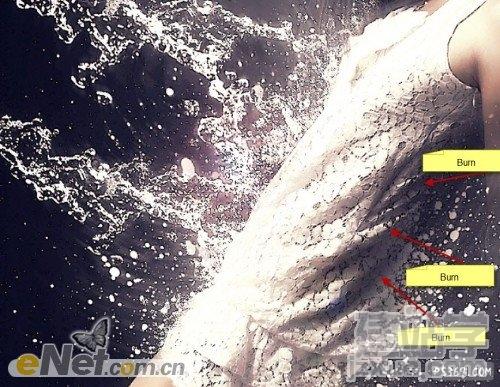
通过加深工具,体现了色彩和灯光效果的清晰,完成最终效果。

(责任编辑:admin) |
织梦二维码生成器
------分隔线----------------------------